
Quick Guide: Disabling Sticky Keys Feature in Windows 10 with Visual Aids
Dealing with the Mysterious hxtrsr.exe in Windows 10 - Tips and Solutions Revealed
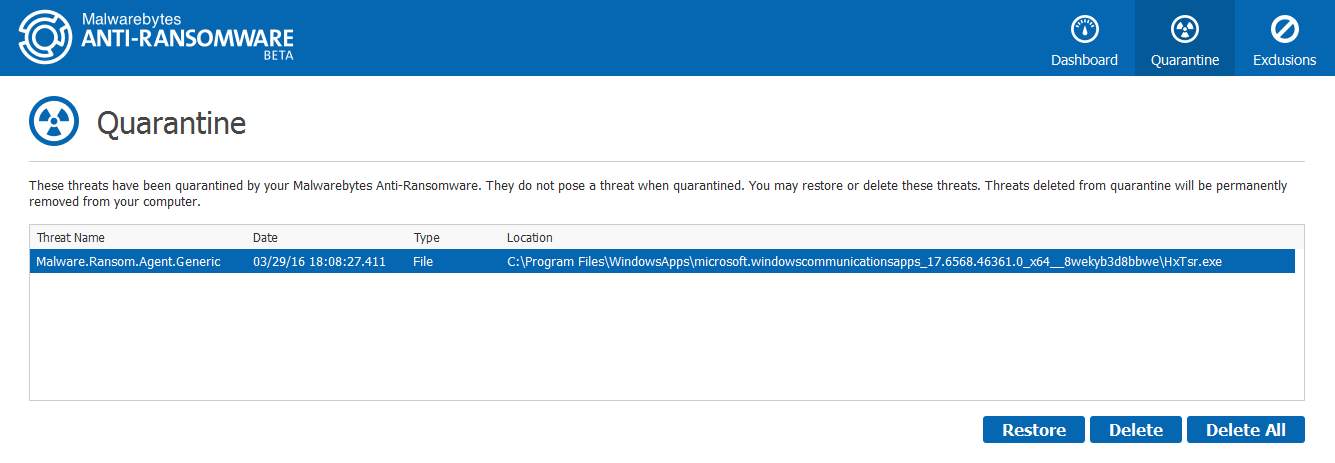
Users with Malwarebytes, Norton and Panda antivirus programs might receiving the notification reminding them to remove a program or a file called HxTsr.exe. Many may wonder, what is it and should we just remove it when our antivirus program tell us to? What if sever problem occurs after I remove it? Well, relax and sit tight. In this post, we will show you what HxTsr.exe is and the appropriate approach to deal with it. First of all, here are what you need to know about HxTsr.exe: a. It is not spyware; b. It is not considered as adware or popup related; c. It is not considered as a virus or trojan; d. HxTsr.exe is part of the Microsoft package and can be terminated; e. You should not remove it from your system. To identify whether you should be worried aboutHxTsr.exeon your computer, follow the instructions below and see more clearly: 1. On your C disk, follow the path:
C:\Program Files\WindowsApps\microsoft.windowscommunicationsapps_17.7167.40721.0_x64__8wekyb3d8bbwe\hxtsr.exe
See if theHxTsr.exe is located here. If you can see it here, there is nothing for you to worry about it. Just leave it be. 2. If you are still having doubts, upload the file to this site here:VirusTotal. Then hit the Scan it button to see if it contains any harmful elements.

3. If you have already removed HxTsr.exe from your computer, here is how you can get it back: 1) On your keyboard, pressWindows keyandXat the same time, then chooseCommand Prompt (Admin).
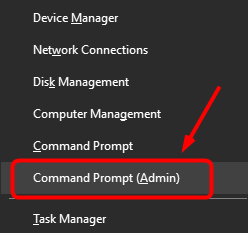
When prompted with administrator permission, hitYesto continue. 2) In the Command Prompt window, type in the following command:
sfc /scannow
Make sure that you have made no typo and hit Enter .
Note that System File Checker is a tool provided by Microsoft to help you detect missing and/or faulty system files and then replace it with new ones. It will take some time to complete the scan, just fit tight and wait with patience. You may need to restart for the changes to take effect.
Also read:
- [New] 2024 Approved Fierce Facades Top Laptop Picks for UHD Editing Enthusiasts
- [New] In 2024, Maximize Impact Priority List of Highlight Tweaks
- [New] Keep an Eye Out for Insta Follower Fleece
- [Updated] Digital Stretching Mastering Mobile Horizon Panos for 2024
- [Updated] Harness Your Creativity with High-Quality, Free Images From These 12 Sites for 2024
- [Updated] Tactical Titles Trailer Producer
- Anticipated Release of Apple’s New MacBook Air, iPad Pro & iPad Air in March: Details Uncovered by ZDNet
- Choosing Your Perfect Apple Wireless Assistant: In-Depth Comparison Between HomePod and HomePod Mini
- High-Performance Screen Recorders for Windows Users for 2024
- Impulsive Purchase: Unraveling My Unexpected Decision to Acquire an Apple Watch on Amazon
- Lightning-Fast Performance Meets Portability: Discover the Ultimate Windows Laptop Replacing MacBook Air | ZDNet
- Send Messages with Confidence Using Your iPad - Simple Steps Inside
- Shop the New 9Th Generation iPad at Only $250 Following Apple's Recent Launch
- Top 8 Preferred Alternative Phone Numbers Applications
- Title: Quick Guide: Disabling Sticky Keys Feature in Windows 10 with Visual Aids
- Author: Andrew
- Created at : 2025-02-10 00:43:27
- Updated at : 2025-02-11 20:19:05
- Link: https://tech-renaissance.techidaily.com/quick-guide-disabling-sticky-keys-feature-in-windows-10-with-visual-aids/
- License: This work is licensed under CC BY-NC-SA 4.0.